

Day 3 of React Mastery

Introduction
In this blog post, we will delve into the fundamental building blocks of React components, covering essential topics such as JSX syntax, conditional rendering, composition, and basic hooks like useState and useEffect. Whether you're a beginner looking to get started with React or an experienced developer aiming to brush up on the basics, this guide is for you. Let's dive in!
Understanding JSX
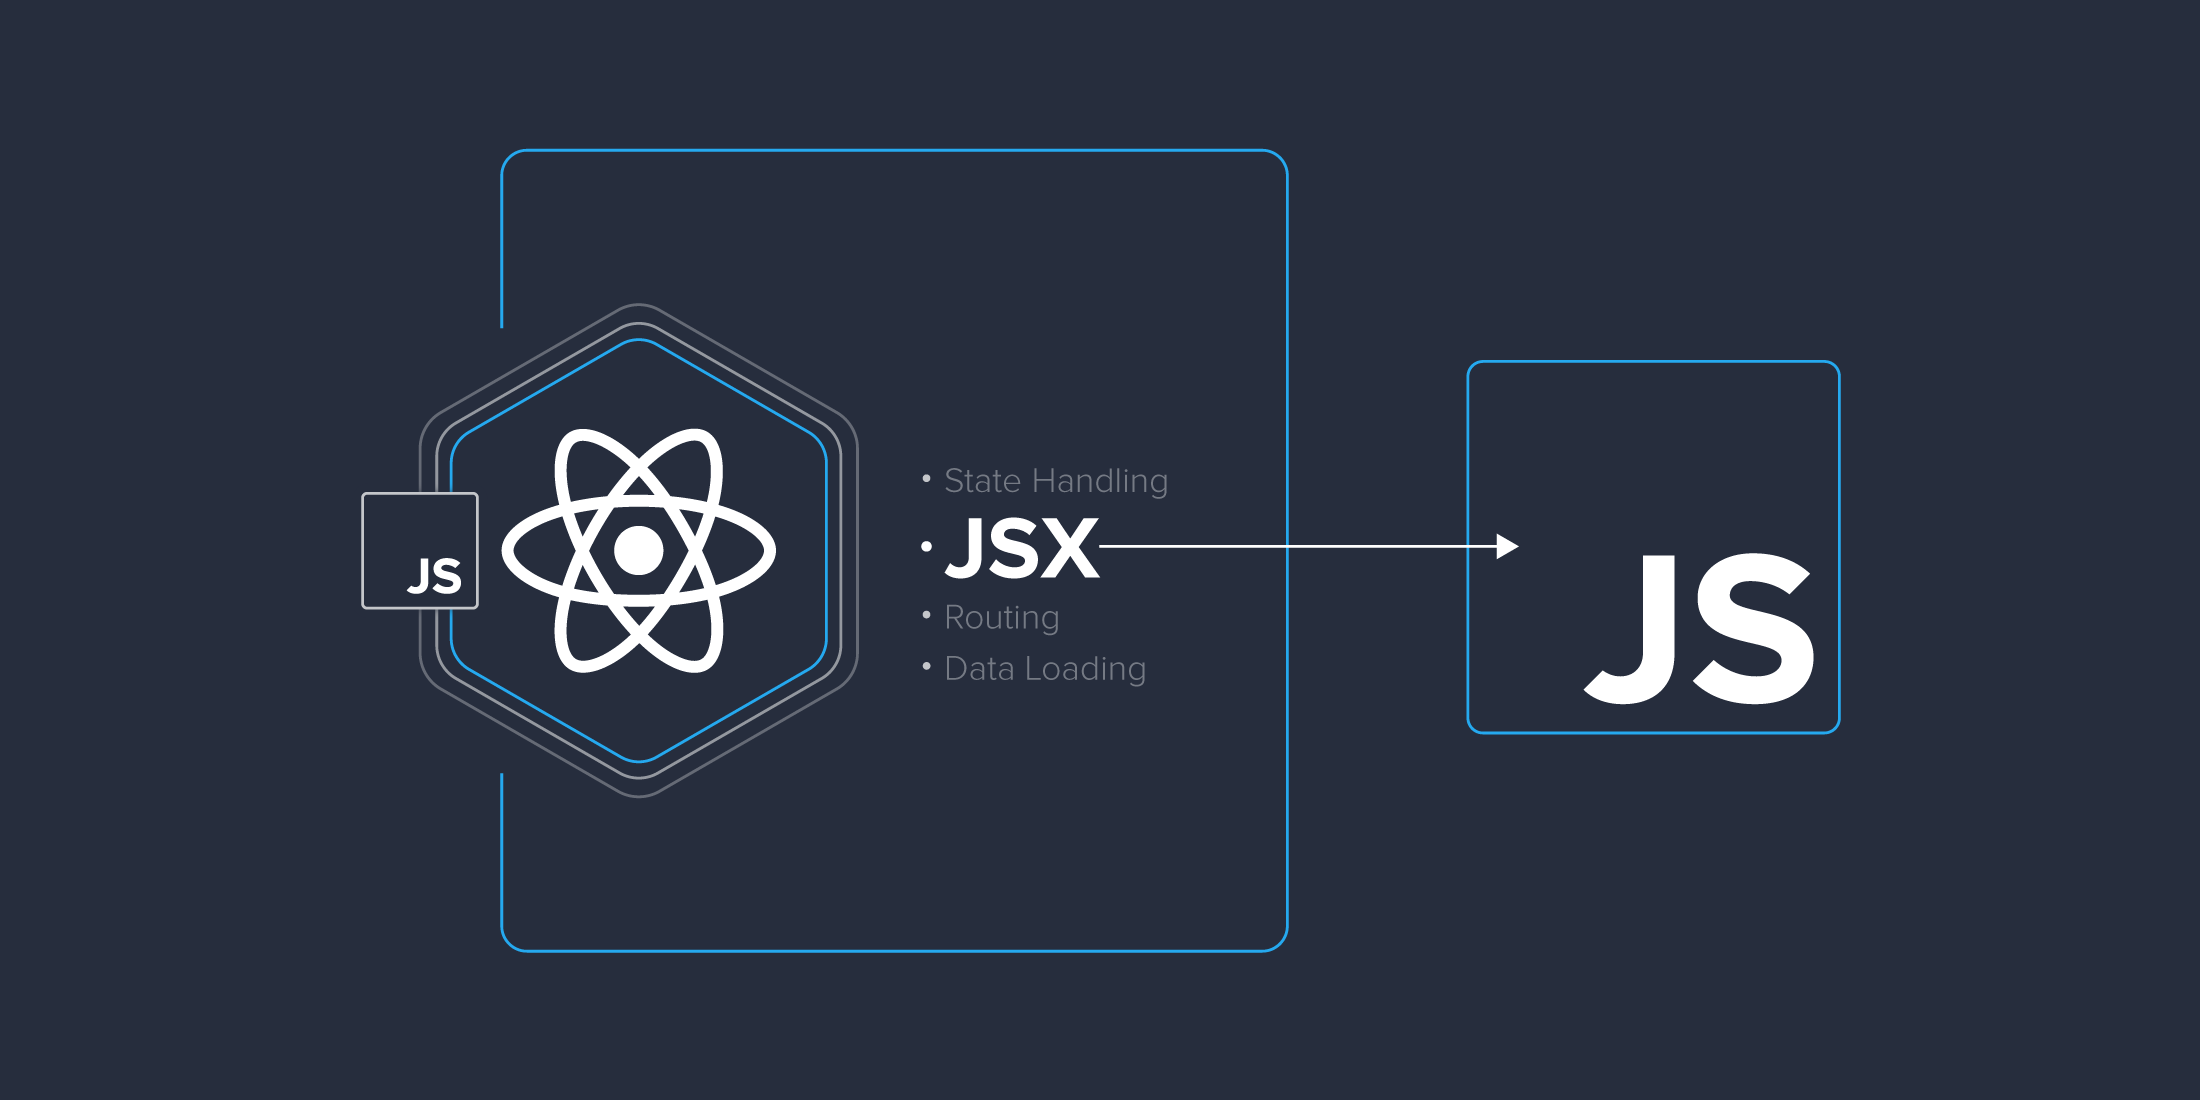
JSX (JavaScript XML) is a syntax extension for JavaScript that allows you to write HTML-like code directly within your JavaScript files. It provides a more expressive and concise way to define the structure of your UI components in React. JSX makes it easier to visualize and work with the component's markup, making your code more readable and maintainable.
Example
Below is a simple JSX code example demonstrating how to create a basic React component using JSX:
import React from 'react';

const Greeting = ({ name }) => {
  return <h1>Hello, {name}!</h1>;
};

ReactDOM.render(
  <Greeting name="Nehal" />,
  document.getElementById('root')
);
In this example, we define a functional component called Greeting using JSX syntax. The component takes a prop name and renders a greeting message with the provided name. We then use ReactDOM.render to render the Greeting component with the prop name set to "John" onto the DOM element with the id "root". This results in the output "Hello, John!" displayed on the web page.
Conditional Rendering

Conditional rendering in React allows you to selectively render components or elements based on certain conditions. This is useful for creating dynamic user interfaces where different content is displayed depending on the state of the application or user interactions. React provides several ways to implement conditional rendering, including if statements, ternary operators, and logical && operator.
Example
Below is a medium-level code example demonstrating how to implement conditional rendering in React using a ternary operator:
import React, { useState } from 'react';

const learing = () => {
  const [isLoggedIn, setIsLoggedIn] = useState(false);

  const toggleLogin = () => {
    setIsLoggedIn(prevState => !prevState);
  };

  return (
    <div>
          {isLoggedIn ? (
        <h1>Welcome back!</h1>
      ) : (
        <button onClick={toggleLogin}>Log In</button>
      )}
    </div>
  );
};

export default learing;
Explanation
In this example, we have a functional component called Greeting. Inside the component, we use the useState hook to define a state variable isLoggedIn and a function setIsLoggedIn to update its value. The initial value of isLoggedIn is set to false, indicating that the user is not logged in.
We then define a function toggleLogin that toggles the value of isLoggedIn between true and false when called.
Within the JSX code, we use a ternary operator to conditionally render different elements based on the value of isLoggedIn. If isLoggedIn is true, the component renders a <h1> element with the text "Welcome back!". If isLoggedIn is false, it renders a <button> element with the text "Log In", which triggers the toggleLogin function when clicked.
This allows us to dynamically switch between displaying a welcome message and a login button based on the current login state of the user.
Hooks

React hooks are functions that enable functional components to use state and other React features without writing a class. Two commonly used hooks are useState and useEffect. useState allows components to manage state, while useEffect enables components to perform side effects.
Example
Below is a medium-level code example demonstrating how to use useState and useEffect hooks in a React functional component:
import React, { useState, useEffect } from 'react';

const Counter = () => {
  const [count, setCount] = useState(0);
  useEffect(() => {
    document.title = `Count: ${count}`;
    return () => {
      document.title = 'React App';
    };
  }, [count]);
  const incrementCount = () => {
    setCount(prevCount => prevCount + 1);
  };

  return (
    <div>
      <h1>Counter</h1>
      <p>Count: {count}</p>
      <button onClick={incrementCount}>Increment</button>
    </div>
  );
};

export default Counter;
Explanation
In this example, we have a functional component called Counter. Inside the component, we use the useState hook to define a state variable count and a function setCount to update its value. The initial value of count is set to 0.
We then use the useEffect hook to perform side effects after every render. In this case, we update the document title to display the current count. The useEffect hook takes a function as its first argument, which contains the side effect logic. We also provide a dependency array [count] as the second argument to useEffect, indicating that the effect should only run when the count state changes.
Inside the JSX code, we display the current count and provide a button that calls the incrementCount function when clicked. This function uses the setCount function to update the count state by incrementing it.
Overall, this example demonstrates how to use useState to manage state and useEffect to perform side effects in a React functional component.
Conclusion
Congratulations! You've learned the basics of React components, including JSX syntax, conditional rendering, composition, and basic hooks like useState and useEffect. Armed with this knowledge, you're well-equipped to start building modern web applications with React.
Thank you for joining me on this journey through React basics! I hope you found this blog insightful and empowering as you continue to dive deeper into the world of React development. Remember, learning is a continuous process, and I'm here to support you every step of the way


